

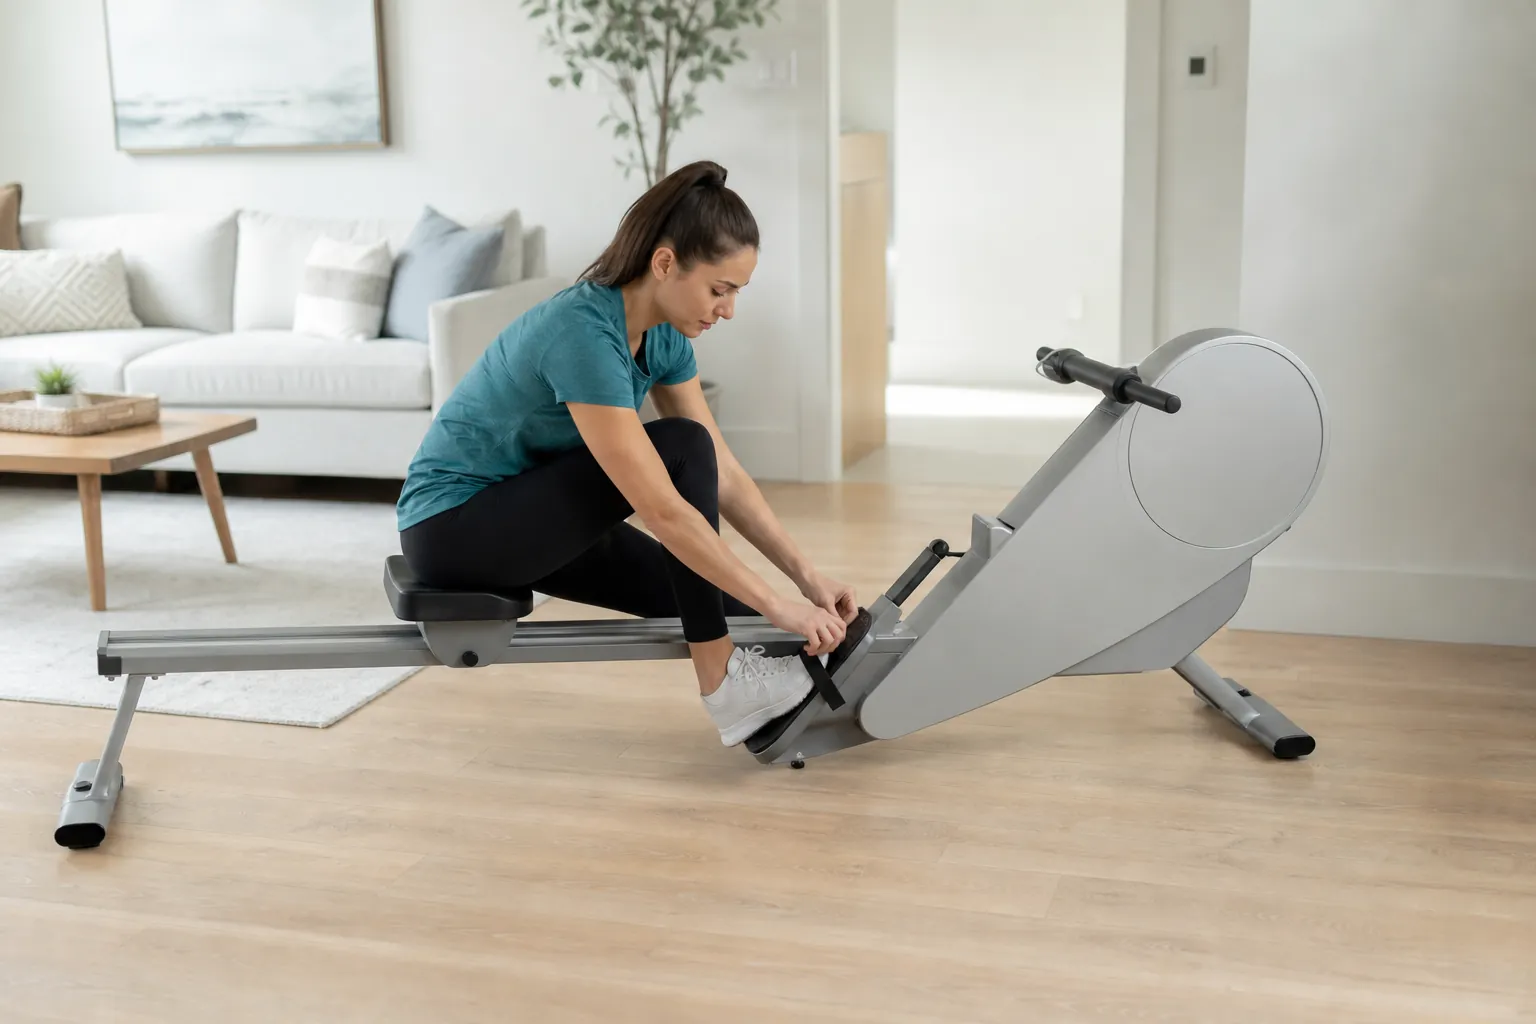
Short answer
How to use a rowing machine properly: strap your feet in, sit tall, and row in a fixed order. On the drive, push with the legs, then swing the body back slightly, then pull the handle to your lower ribs. On the recovery, reverse it: arms away, body forward, then bend the knees. Take about twice as long to come forward as to push back, start at a medium resistance and keep your back long, not rounded.
Key takeaways
- Row in order: legs, body, arms, then arms, body, legs.
- Keep the back long and hinge from the hips.
- Come forward twice as slowly as you push back.
- A medium resistance builds a better stroke than the maximum.
- Fatigue erodes form, so start short and build gradually.
Rowing looks simple: sit, push, pull. Most people still get the order wrong at first. They pull with the arms, swing the back early, or slam into the front of the rail. The result is tired arms, a sore lower back and less work for the legs, which are meant to do most of it.
This guide shows you how to set up the machine, the four phases of a correct stroke, how to pace it, what the damper or resistance knob really does, and the mistakes worth fixing first. It works for any rower type: air, magnetic, water or hybrid. If you have not chosen a machine yet, see our best rowing machine for beginners guide.
Set Up the Rowing Machine Before Your First Stroke
Two minutes of setup make the first session much easier. Check the foot position, the strap and the resistance before you start, and place the monitor where you can see it without twisting.
- Foot position: set the footplate so the strap crosses the widest part of your foot, near the ball. Your heels can lift a little at the catch; your feet should not slide.
- Strap: snug, not tight. It keeps your feet in place; it should not be what pulls you forward.
- Resistance: start at a medium setting. On an air rower that is a damper of about 3 to 5. On a magnetic rower, a level in the lower third. On a water rower, the fill level the manual recommends.
- Monitor: pick a view that shows time, strokes per minute and, if available, the 500 m split.
- Grip: hold the handle with your fingers, thumbs underneath, wrists flat. A loose grip saves your forearms.
- Space: leave room behind the seat rail and at the sides. Our best rowing machine for tall people guide lists rail lengths if your legs do not fully extend.
Pro tip: Sit on the seat, slide forward to the catch and check your shins. If they cannot reach vertical without your back rounding, move the footplate down a notch.
How to Use a Rowing Machine Properly: The 4 Phases of the Stroke
A stroke has four parts: the catch, the drive, the finish and the recovery. They blend into one smooth motion, but learning them one at a time is the fastest way to get the order right.
- Catch: picture a clock face beside you. At the catch your body leans forward to about one o’clock. Your arms are straight and your shoulders relaxed. The lean comes from the hips, not from a rounded back.
- Drive: push the footplate away with your legs while your arms stay straight. The handle and seat move back together. When your legs are nearly flat, open your hips and swing back to about eleven o’clock. Only then bend the elbows and pull.
- Finish: the handle reaches the bottom of your ribs, elbows travel past your body, wrists stay flat. Hold this for a split second, sitting tall.
- Recovery: push the arms away first, until the handle passes your knees. Hinge your body forward from the hips. Then let the knees bend and slide the seat forward to the next catch.
| Phase | Body position | Key cue |
|---|---|---|
| 1. Catch | Shins near vertical, arms straight, body leaning slightly forward from the hips, back long | “Sit tall, arms long” |
| 2. Drive | Push with the legs; once they are nearly straight, swing the body back; then pull with the arms | “Legs, body, arms” |
| 3. Finish | Legs straight, body leaning slightly back, handle at the lower ribs, elbows past the body | “Handle to the ribs, shoulders down” |
| 4. Recovery | Arms extend, body hinges forward, then knees bend and the seat slides forward | “Arms, body, legs” |
Check Amazon for current pricing and availability.
Correct Form for a Rowing Machine: Your Back and Hips
Lower back strain is the most common complaint from new rowers, and it usually comes from posture at the catch and finish. A 2021 systematic review in the British Journal of Sports Medicine compared the movement of rowers with and without low back pain across 22 studies. Rowers without back pain tended to sit with the pelvis upright or tilted slightly forward at the catch and kept a flatter lower back at the finish. Rowers with back pain rolled the pelvis backward more at the catch.
The same review found that fatigue increased rounding of the lower spine at the catch in all rowers, and that this effect was larger on a rowing machine than on water. That is a practical point for home rowing: form slips when you get tired, so the last minutes of a session deserve the most attention.
To row with a neutral back, think of sitting on the front of your sit bones. Hinge forward from the hips with the chest proud. At the finish, lean back only slightly, with the core braced. If you feel the lower back working more than the legs, shorten the session or lower the resistance.
Watch out: Sharp pain, pain that spreads into a leg, or pain that lasts after rowing is a reason to stop and see a healthcare professional, not to push through.
Rhythm, Stroke Rate and Pace
Rowing is about rhythm as much as force. The drive is quick and strong; the recovery is slow and relaxed. A simple target is a 1:2 ratio: one count to push back, two counts to come forward. Rushing the recovery is the most common pacing mistake. It raises your stroke rate without adding power and leaves no time to rest between strokes.
Stroke rate is the number of strokes per minute, shown as “s/m” or “spm” on most monitors. For steady rowing, around 18 to 24 strokes per minute is a common range. Harder intervals often go higher, into the high 20s. If your rate climbs past 30 on an easy row, slow the slide forward.
Pace on a rowing monitor is usually shown as a 500 m split, the time it would take to row 500 meters at your current speed. A lower split means a faster pace. To plan targets for a set distance or time, use our rowing pace calculator.
For effort, the CDC talk test is a handy guide. During moderate-intensity activity you can talk but not sing; at vigorous intensity you cannot say more than a few words without pausing for breath. Most early sessions should feel moderate.
| Session type | Stroke rate (spm) | Effort (talk test) | Focus |
|---|---|---|---|
| Technique drills | 16–20 | Easy, full sentences | Order and posture |
| Steady row | 18–24 | Moderate: can talk, cannot sing | Rhythm and a long, even stroke |
| Tempo pieces | 24–28 | Hard: short phrases | Holding form under effort |
| Short intervals | 26–32 | Vigorous: a few words only | Power per stroke |
Damper and Resistance Settings Explained
The resistance setting changes how heavy each stroke feels. It does not decide how hard the workout is: you do, through how hard you push and how fast you row. A heavy setting with a slow, grinding stroke can be easier on the heart and harder on the back than a medium setting rowed well.
Each rower type handles resistance differently. Our types of rowing machines guide explains the differences in more detail.
- A damper setting of 10 on an air rower feels like rowing a heavy, slow boat. It suits short, powerful efforts, not learning the stroke.
- Some air rower monitors show a “drag factor,” a number that reflects how quickly the flywheel slows. It is a more exact way to repeat the same feel from day to day than the lever number.
- If your stroke rate drops and each stroke feels like a deadlift, lower the setting.
| Type | What you adjust | How it feels | Starting point |
|---|---|---|---|
| Air | A damper lever on the fan housing (often 1 to 10) | Higher lets more air in: heavier catch, slower flywheel. Harder pulls always add resistance. | About 3 to 5 |
| Magnetic | A knob or button setting (often 8 to 16 levels) | A fixed load at each level; very quiet. | Lower third of the range |
| Water | The amount of water in the tank | Builds through the drive as you pull harder; soft swish. | The fill level in the manual |
| Air + magnetic | A magnetic level, with air resistance on top | Fixed base load plus effort-based fan resistance. | Low magnetic level |
Pro tip: Change the resistance only after your form holds for a full session at the current setting.
Common Rowing Machine Form Mistakes and How to Fix Them
Most technique problems come from the order of the stroke. Fix the order and many other faults fade. Here are the ones to watch for first.
| Mistake | What it looks like | Fix |
|---|---|---|
| Arms first | Elbows bend at the start of the drive | Keep arms straight until the legs are nearly flat |
| Shooting the slide | The seat moves back but the handle lags; the back stays forward | Push with the legs and keep the body connected to the handle |
| Knees up too early | The handle has to lift over bent knees on the recovery | Arms away and body forward before the knees bend |
| Rounded back | Shoulders hunch and the lower back curves at the catch | Hinge from the hips; sit on the front of the sit bones |
| Leaning too far back | The body lies back past about eleven o’clock | A small lean, then stop; brace the core |
| Rushed recovery | Fast slide forward, high stroke rate, little power | Count 1 on the drive, 2 on the recovery |
| Death grip | White knuckles, bent wrists, burning forearms | Hold with the fingers; keep wrists flat |
Drills to Learn the Stroke Faster
Drills break the stroke into parts. Use them in the warm-up of your first few weeks, about 5 minutes in total, before steady rowing.
- Arms only: legs straight, body upright, pull with the arms alone for 10 strokes. This teaches a level handle path.
- Arms and body: legs straight, add the body swing from one o’clock to eleven o’clock. 10 strokes.
- Half slide: bend the knees halfway on the recovery and row from there. 10 strokes.
- Full slide: the whole stroke, slowly, saying “legs, body, arms” and “arms, body, legs.” 10 strokes.
- Pause drill: stop for one second with arms away and body forward before bending the knees. This fixes “knees up too early.”
Your First Rowing Sessions and Safety
Start shorter than you think. Ten to fifteen minutes of easy rowing, two or three times in the first week, is enough to learn the rhythm and let your hands, back and legs adapt. Add a few minutes per session each week as your form holds.
A 2017 review in Sports Medicine on rowing injuries notes the growth of indoor rowing and points to training load, back injury and rib injury as areas where understanding has improved. For home rowers the lesson is simple: increase time or intensity gradually, one at a time, and treat lasting pain as a reason to rest and get advice.
- Warm up with 3 to 5 minutes of easy rowing and drills.
- Wear fitted clothing that will not catch in the seat rollers.
- Keep children and pets away from the rail and the handle cord.
- Hook the handle back in its holder after each session; a released handle can snap back.
- People with back, hip or knee problems, heart conditions or who are pregnant should ask a healthcare professional what suits them first.
Pick a Rower That Makes Good Form Easier
Any rower can be rowed well. A few features make it easier to learn: a smooth seat, a rail long enough for your legs, and a monitor that shows stroke rate and 500 m split so you can check your rhythm. The picks below come from our best rowing machine for beginners and best air rowing machine guides; the FitScore on each card is from the guide named. How we score explains the method.
Best for beginners

Merach Q1S Magnetic Rowing Machine
FitScore 80.5/100
The top pick in our best rowing machine for beginners guide. Sixteen magnetic levels let you hold one steady load while you learn the order of the stroke. The listing gives a 350 lb capacity and a maximum user height of 77 inches. Its monitor is simple: time, distance, strokes and calories, without a split.
Ranked in our Best Rowing Machine for Beginners guide
Check Price on AmazonBest form feedback

Sunny Health & Fitness Smart Magnetic Rowing Machine SF-RW523021
FitScore 80.2/100
Also ranked in our beginners guide. Its monitor shows stroke rate and 500 m split, the two numbers that tell you whether your rhythm and pace hold. It has 16 magnetic levels, a 300 lb capacity and stands upright for storage.
Ranked in our Best Rowing Machine for Beginners guide
Check Price on AmazonBest damper control

Concept2 RowErg
FitScore 87.7/100
The top pick in our best air rowing machine guide. The air damper lets you set the feel of the catch, and the monitor shows split, stroke rate and watts. It is 96 inches long in use and separates in two for storage.
Ranked in our Best Air Rowing Machine guide
Check Price on AmazonProper Rowing Form Checklist
8 checks
Tap a number to check off that step.
- 01
Strap across the widest part of the foot; footplate set so shins reach vertical.
- 02
Medium resistance: air damper about 3 to 5, magnetic in the lower third.
- 03
Drive order: legs, body, arms. Recovery order: arms, body, legs.
- 04
Back long at the catch; hinge from the hips.
- 05
Handle to the lower ribs, wrists flat, shoulders down.
- 06
Rhythm of 1 count on the drive and 2 on the recovery.
- 07
Steady rowing around 18 to 24 strokes per minute.
- 08
Watch your form most closely in the last minutes, when fatigue sets in.
Common Mistakes to Avoid
Mistake 1Pulling with the arms before the legs finish.
Mistake 2Setting the damper to 10 to “work harder.”
Mistake 3Rounding the lower back to reach farther at the catch.
Mistake 4Bending the knees before the handle clears them on the recovery.
Mistake 5Rushing the slide forward and rowing at a high stroke rate with little power.
Mistake 6Rowing long sessions in the first week instead of building up.
The Bottom Line
- The drive order is legs, body, arms; the recovery order is arms, body, legs.
- A good rhythm is about 1 count on the drive and 2 counts on the recovery.
- Steady rowing usually sits around 18 to 24 strokes per minute.
- On an air rower, a damper setting around 3 to 5 suits most beginners; 10 is not “more workout.”
- A review of rowing studies found that fatigue increases lower back rounding at the catch, more so on a rowing machine.
Our Top Picks
 Best for beginnersMerach Q1S Magnetic Rowing MachineFitScore80.5/100Check on Amazon
- Best form feedbackSunny Health & Fitness Smart Magnetic Rowing Machine SF-RW523021FitScore80.2/100Check on Amazon
- Best damper controlConcept2 RowErgFitScore87.7/100Check on Amazon
Frequently Asked Questions
Strap your feet in, set a medium resistance and row in the order legs, body, arms on the drive and arms, body, legs on the recovery. Keep your back long, pull the handle to your lower ribs and come forward slowly. Start with 10 to 15 minutes of easy rowing and add time each week.
On an air rower, about 3 to 5 suits most people, especially while learning. Higher settings feel like a heavier, slower boat and suit short power efforts. The damper changes the feel of each stroke; how hard you push decides how hard the workout is.
For steady rowing, about 18 to 24 strokes per minute is common. Intervals often run in the mid to high 20s. If your rate is high but your split is not improving, you are probably rushing the recovery; slow the slide forward and push harder with your legs.
Push with your legs first. The legs start every stroke and do most of the work. The body swing comes next and the arms finish the pull. Bending the arms early tires them quickly and takes work away from the larger leg muscles.
Ten to fifteen minutes of easy rowing, two or three times in the first week, is a good start. Add a few minutes per session as your form holds. Over time, aim to build toward the CDC baseline of 150 minutes of moderate activity a week, counting all your activities together.
Rowing with good form is not inherently bad for the back, but poor posture and fatigue raise the strain. A review of rowing studies found that rowers with back pain rolled the pelvis back more at the catch, and that fatigue increases lower back rounding. Keep your spine long, hinge from the hips, and stop if you feel sharp or lasting pain.
Explore More Rowing Machine Guides
Rowing Machine Muscles Worked: Every Muscle, Phase by Phase (2026)
Best Rowing Machine for Beginners (2026): 5 Easy-to-Start Picks
Best Rowing Machine (2026): 5 Top Picks for Home, Ranked
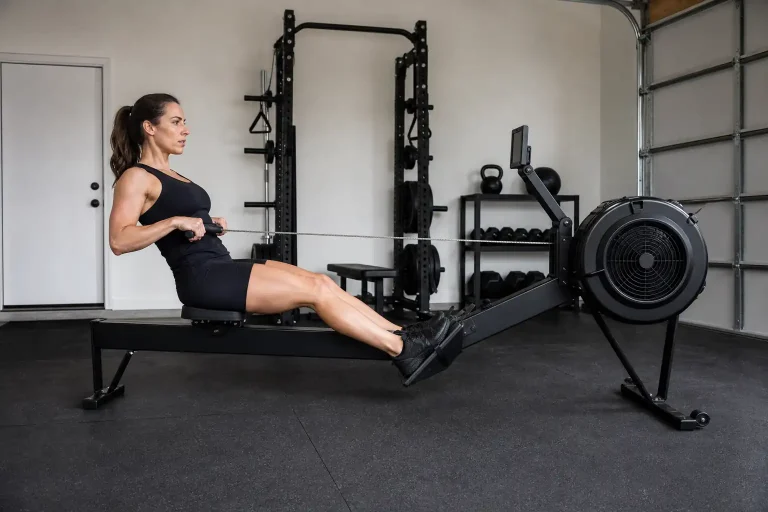
Best Air Rowing Machine (2026): 5 Picks for Hard Training
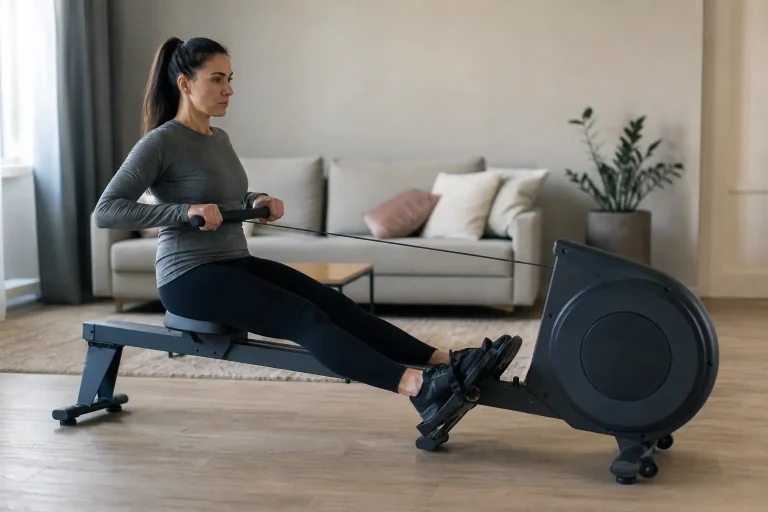
Best Magnetic Rowing Machine (2026): 5 Quiet Picks Ranked
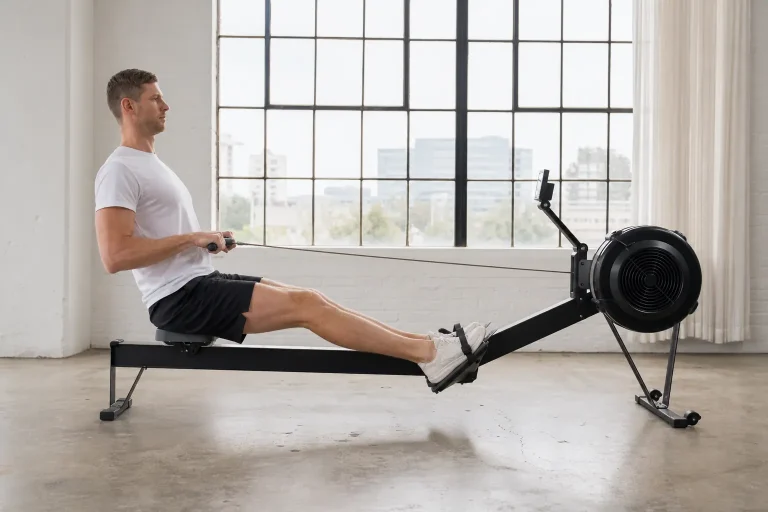
Best Rowing Machine for Tall People (2026): 5 Picks With Room to Row
This article contains affiliate links. If you click through and make a purchase, we may earn a small commission at no extra cost to you. As an Amazon Associate, we earn from qualifying purchases. We do not show prices because they change constantly: product details and availability can change at any time, so please check the current price and details directly on Amazon. Learn more. Amazon and the Amazon logo are trademarks of Amazon.com, Inc. or its affiliates.
