

Short answer
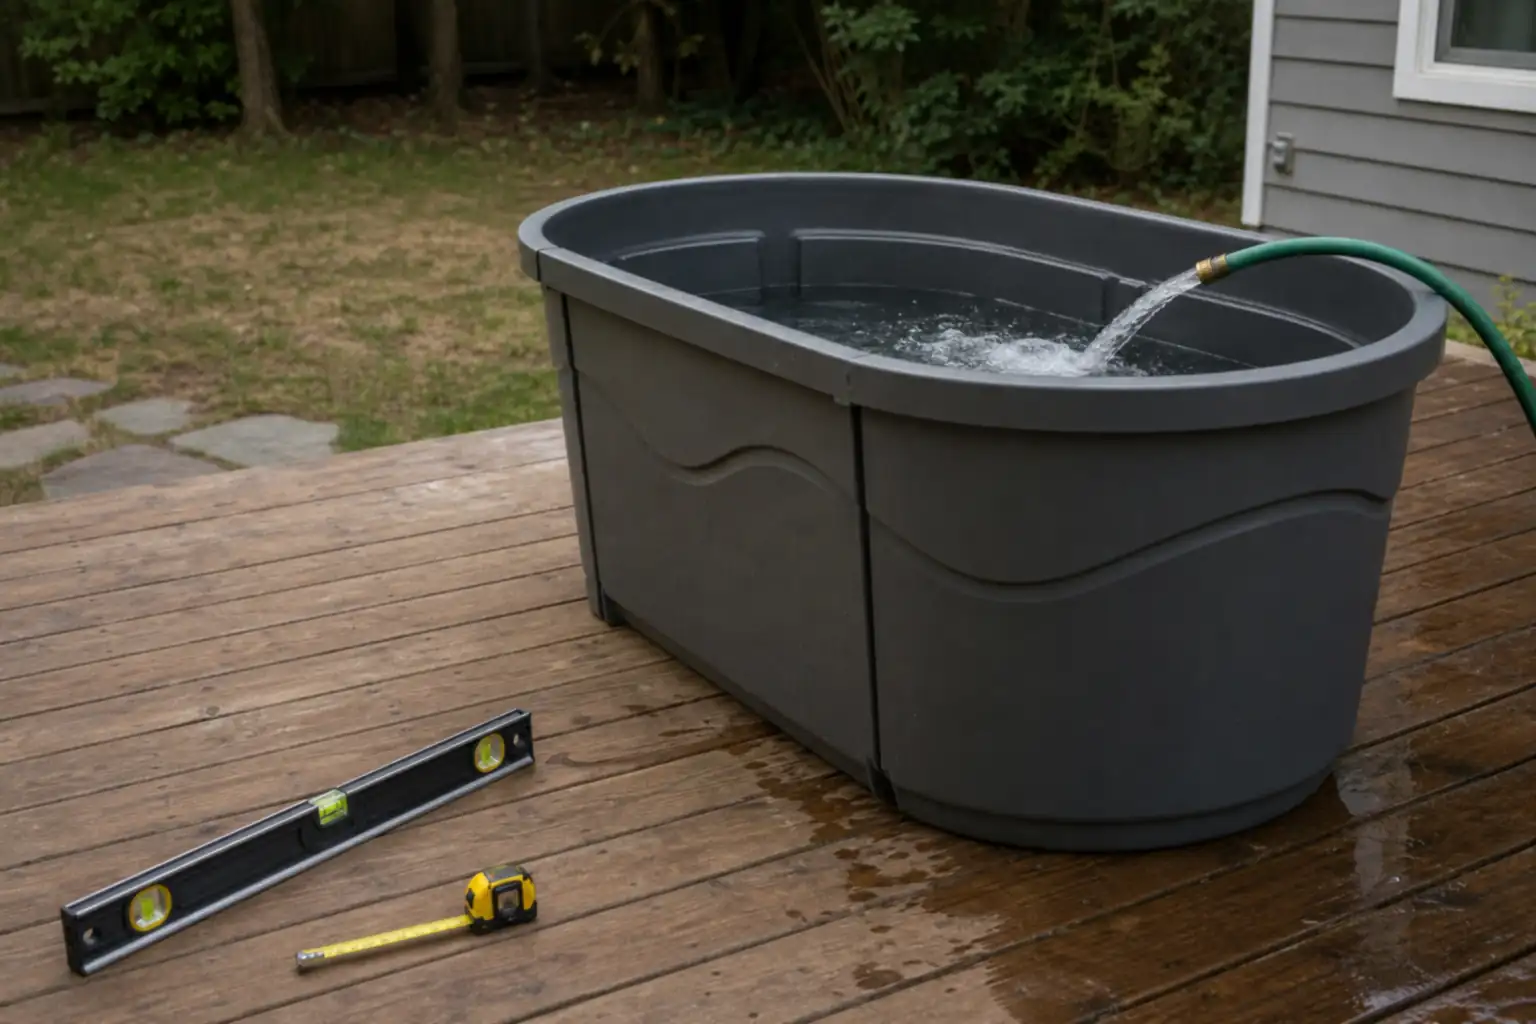
How to Set Up a Cold Plunge Tub: Set the tub on a flat, firm surface near a hose and, for a chiller, an outlet; fill it, connect the hoses and keep the lid on between uses. Always follow the instructions that come with your tub.
Key takeaways
- A full tub is heavy: choose the spot and the surface first.
- Follow the maker instructions for power, hoses and care.
- Keep the lid on between uses.
To choose a tub first, see our best cold plunge tub ranking.
How to Set Up a Cold Plunge Tub: Choose the Spot
Pick the location before you order, because the weight and the cords decide where the tub can go.
- Surface: flat, firm and able to carry the full weight; a mat or tarp under an inflatable tub protects the base.
- Water: within reach of a hose for filling and a drain or a way to empty the tub.
- Power: for a chiller kit, an outlet near the chiller; follow the maker instructions and local requirements for the electrical setup, and keep cords out of standing water.
- Clearance: leave the space the maker lists around the chiller so it can breathe; see our size guide for footprints.
Assemble and Fill
Unbox the parts and check them against the list in the manual before you start. Then follow the order below.
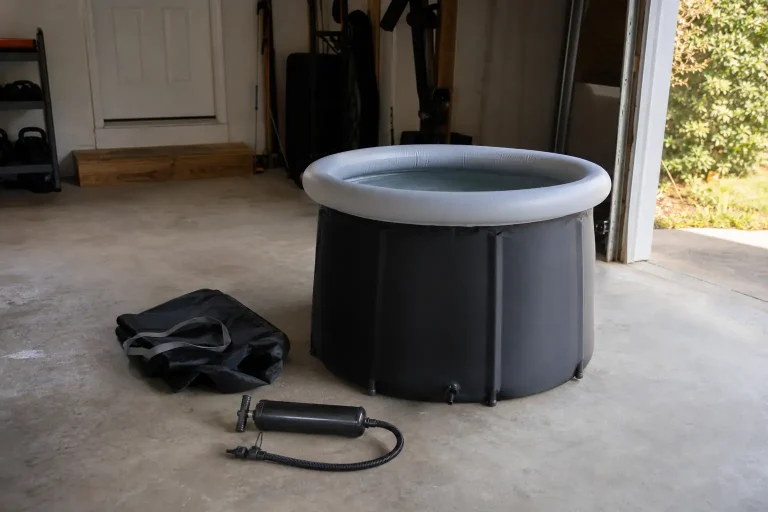
- Step 1: lay out the tub and inflate it with the pump or fit the support legs, as the manual describes.
- Step 2: set the tub in its final position before you add water.
- Step 3: fill with a hose to the level the maker marks, leaving room for the water that moves when someone gets in.
- Step 4: fit the lid and any cover.
Connect a Chiller and Filter
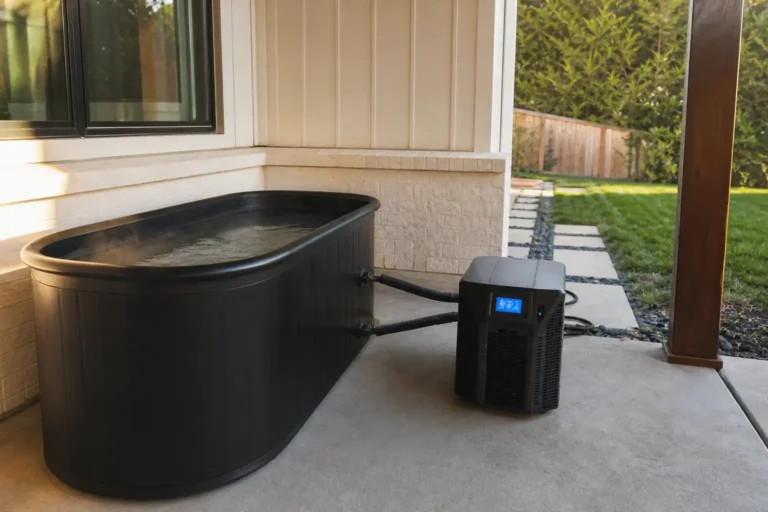
A chiller kit joins the tub and the chiller with two hoses, one in and one out, plus a pump and a filter. Some inflatable tubs list ports so you can add a chiller later; see inflatable vs chiller kit.
- Hoses: connect the inlet and outlet as the manual shows and check the clamps or fittings.
- Filter: fit the filter or screens before the first run.
- First run: check the connections for leaks before you leave the system running.
- Controls: set the temperature on the unit or in the app as the maker describes.
Keep the Tub Clean
Care steps differ by model, so use the schedule in your manual. These habits are common to most tubs.
- Lid on: keep the lid on when the tub is not in use; it keeps debris out and keeps the tub out of reach of children.
- Filter: rinse or replace it as the maker describes.
- Water: change it on the maker schedule; use only the cleaning products the maker approves.
- Inflatable tubs: drain and dry the tub before you fold it into its bag.
Tubs That Suit a First Setup
A simple setup helps on the first try. These two lead their types in our rankings.
Foldable tub

Lifepro NordPod Portable Tub
FitScore 59.7/100
A 102-gallon inflatable tub with a lid, 8 support legs, a foot pump and a carry bag in the box. Ranked #1 in our best portable cold plunge tub guide, FitScore 59.7 for that intent.
Check Price on AmazonChiller kit

AS ColdPlunge 148 Gal Kit
FitScore 62.8/100
A 148-gallon tub with a 1/3 HP chiller, an external pump and filter and an LED touchscreen. Ranked #2 in our best cold plunge tub with chiller guide, FitScore 62.8 for that intent.
Check Price on AmazonChecklist for Your First Setup
6 checks
Tap a number to check off that step.
- 01
Choose a flat, firm spot near a hose.
- 02
Plan an outlet near the chiller if the kit has one.
- 03
Check the parts against the manual.
- 04
Set the tub in place before you fill it.
- 05
Check the hose connections for leaks.
- 06
Keep the lid on between uses.
Common Mistakes to Avoid
Mistake 1Filling the tub before it is in its final spot.
Mistake 2Placing the tub on a surface that is not flat and firm.
Mistake 3Boxing in the chiller so it cannot breathe.
Mistake 4Skipping the manual and the safety instructions.
Mistake 5Folding an inflatable tub before it is dry.
The Bottom Line
- Water weighs about 8.3 lb a gallon, so 100 gallons is over 800 lb and 200 gallons is over 1,600 lb.
- The tubs in our pool hold 100 to 217 gallons; the 11 chiller kits need an outlet near the tub.
- Many kits ship in two boxes, one for the tub and one for the chiller.
- Keep the receipt and the warranty terms: the FTC explains how to read a product warranty, and the federal warranty law sets what a written warranty must say.
Our Top Picks
 Foldable tubLifepro NordPod Portable TubFitScore59.7/100Check on Amazon
- Chiller kitAS ColdPlunge 148 Gal KitFitScore62.8/100Check on Amazon
Frequently Asked Questions
A flat, firm surface, a hose to fill it and, for a chiller kit, an outlet near the chiller. The tub and the lid come with the kit.
On a flat, firm surface that can carry the weight of the water, near a hose and, for a chiller, near an outlet; indoors or outdoors as the maker allows.
Inflatable tubs usually take a short while to inflate and fill; kits take longer because the chiller and hoses are connected. Check your manual.
It depends on the tub, the filter and your use; follow the schedule in the manual.
Follow the maker instructions and local requirements; a chiller needs an outlet near the tub.
This article contains affiliate links. If you click through and make a purchase, we may earn a small commission at no extra cost to you. As an Amazon Associate, we earn from qualifying purchases. We do not show prices because they change constantly: product details and availability can change at any time, so please check the current price and details directly on Amazon. Learn more. Amazon and the Amazon logo are trademarks of Amazon.com, Inc. or its affiliates.
